|
» You are NOT logged in! |
LOGIN or REGISTER!
If you haven't registered yet, please do so by clicking here. The benefits of registering include an endless wealth of technical information, access to our forums, and best of all, this god awful big red eye sore of a notice will disappear!! |
|

|
» Z32 Headlight Disassembly - Page 2 of 2 |
|
12. Now it is time to reassemble, taking care not to get any finger prints
on your newly cleaned lens. You may notice the position of the glare guard on
the projector housing, you install it with the glare guard on the bottom. This
may seem like the wrong way, but remember the lens inverts the light (top is
refracted to the bottom and vice versa when going through the lens). With that
in mind you can reassemble the headlight, just the same as disassembling but in
reverse.
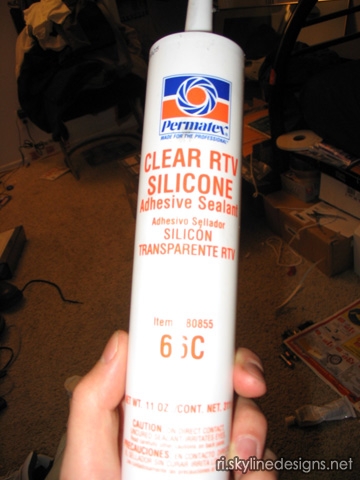
13. Now once you have the housing and lens back together and in place,
you need to get the glass back on. Remember to keep the inside of the glass
clean, you do not want to get it all back together and find dust or a smudge on
the inside of your headlamp. Depending on what route you chose, you are either
going to reheat and clamp the old glue back into place, or use RTV Clear Silicon
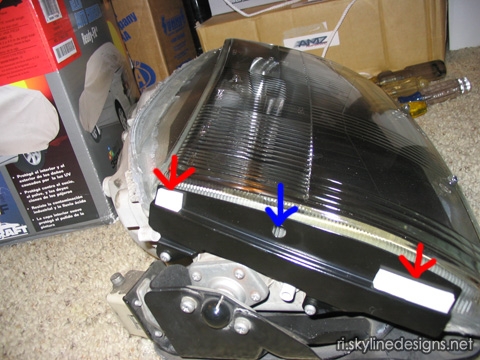
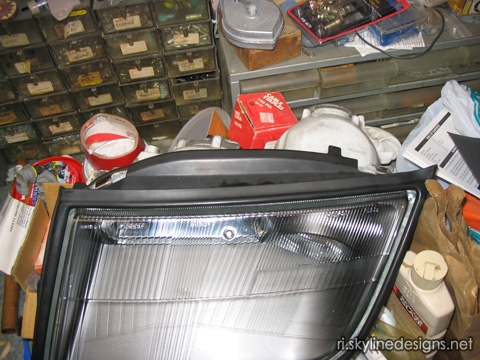
sealant to reseal the glass. Either way I have found there are 3 crucial clamp
points, shown in the second picture (the blue rectangles are wood pieces that
serve as a buffer between the actual housing and the clamp, the red circles are
the clamp points; the wood peices are to protect the housing, be sure to put the
wood [or something similar] between the clamp and housing where ever it clamps
down). The third picture shows the clamp points on the front a little better.
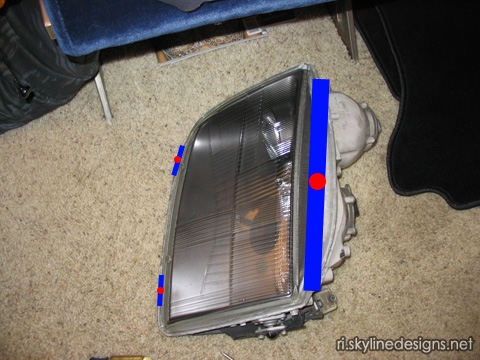
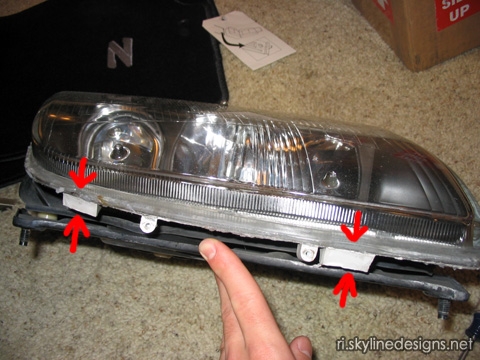
14. Wait until the glue or silicon sealer is dry. Then put all the metal
brackets and rubber lining back onto the headlamp; if you want to replace any of
the foam padding or padded tape, now is the time to do that. I found it was the
easiest to use thin weather stripping on the metal brackets shown with the red
arrows. I put this on the top bracket and both sides; the bottom bracket already
has large foam peice that probably will not need replacing. This gives it a snug
fit if the old foam padding is worn. Also make sure you get the circular notches
on the inside of the rubber into the holes on the bracket (shown with the blue
arrow) so the rubber will not shift. Once you have got all the brackets and
rubber linging back on, you are ready to put it back onto your car.
Zmods.org screen name: Turtleboy
3ZC screen name: Turtleboy
|
|
|
» You are NOT logged in! |
| You made it to the bottom of the page, and still aren't logged in!! If you haven't registered yet, please do so by clicking here. The benefits of registering include an endless wealth of technical information, access to our forums, and best of all, this god awful big red eye sore of a notice will disappear!! I'm sure you're tired of looking at this gaudy notice by now! |
|
|