|
Cowl Grill Restoration |
Article Date: 07-27-08
Author:
Twisted
Six
Mod Class: Z32 All Models
Mod Type: Aesthetics
Article Origin:
Zmods.org
Difficulty Level:
3
(Scale of 1 to 10. 1 being extremely easy, 10 being extremely
difficult.)
Estimated Time to Complete: Approx 6 hours, allowing time between
coats, allow 48 hours of cure time before reinstalling.
Tools Required:
- 2 cans of black
Plasti-Dip Spray, available at Home Depot
- Various sandpaper grits, from 220 to 1000
- Heat gun or soldering iron
- Hot glue gun
- 1 can of flat black spray paint (optional)
- Fine tipped awl
- Acetone
or lacquer thinner
- Clean rags |
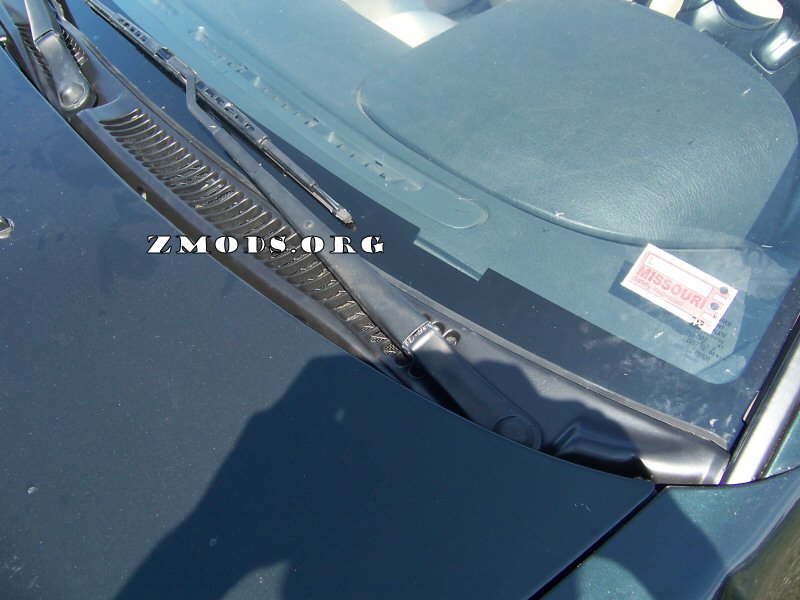
This procedure will restore your pitted and fading cowl grills to like new
condition. They must not be broken though. If they are, you're
better off finding a set that's not broken off a parts car to restore, as
there's no point doing this to a broken cowl. I did not cover removal and
reinstallation from the car in this writeup, as those steps are rather self
explanatory and extremely easy.
Getting Started
- Basic Prep
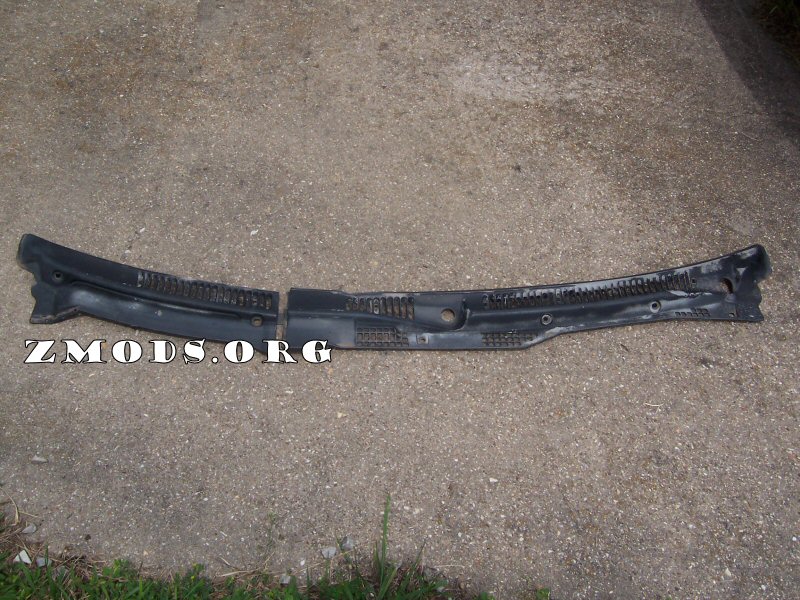
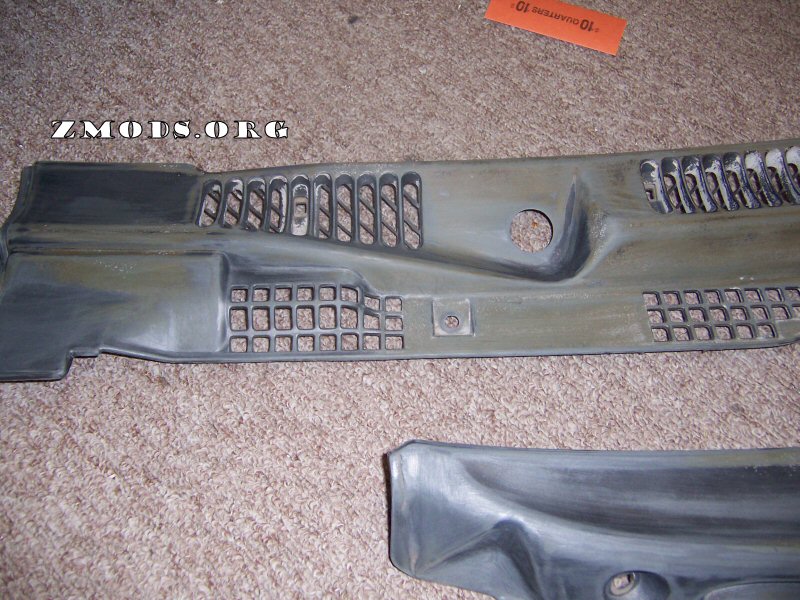
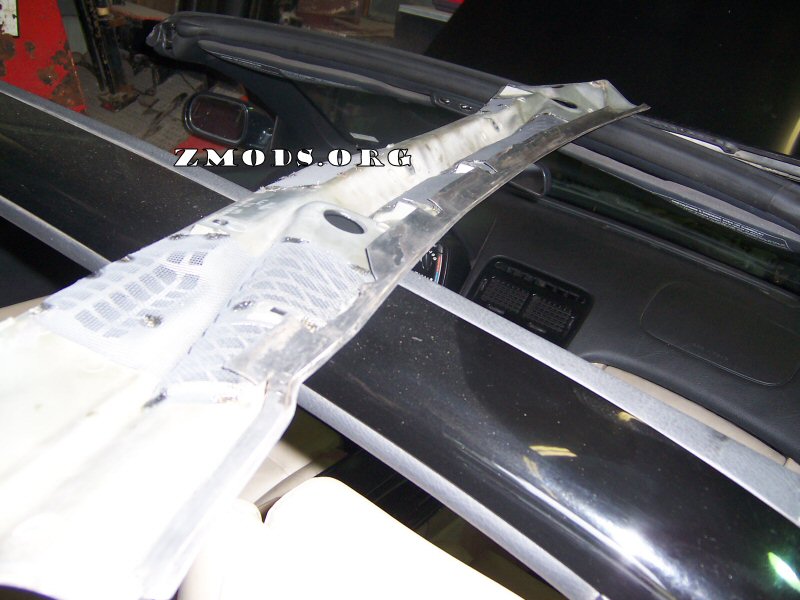
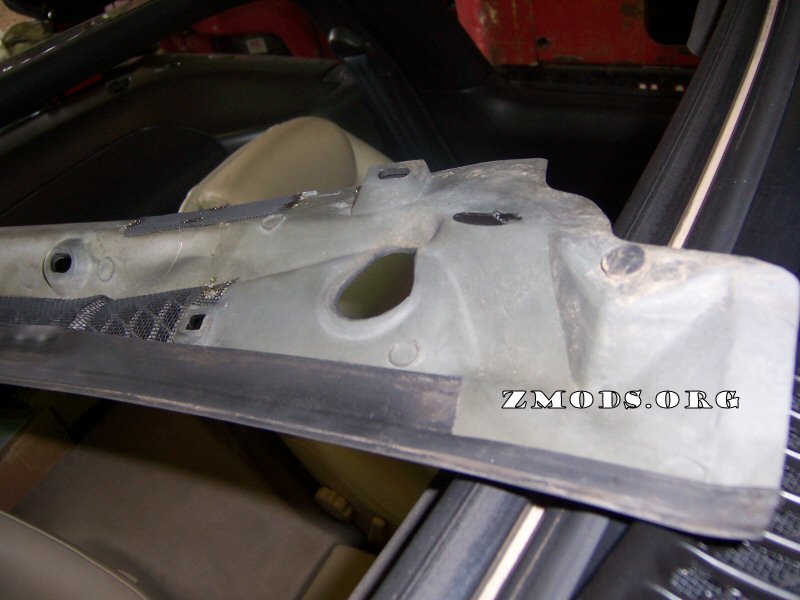
The set used for this writeup were from my 1994 Z32 Convertible, which had
sat outside for years. These were battered by the elements severely.
This car is a complete restoration in the works, so ignore the poor condition of
the rest of the car in some of these pics.
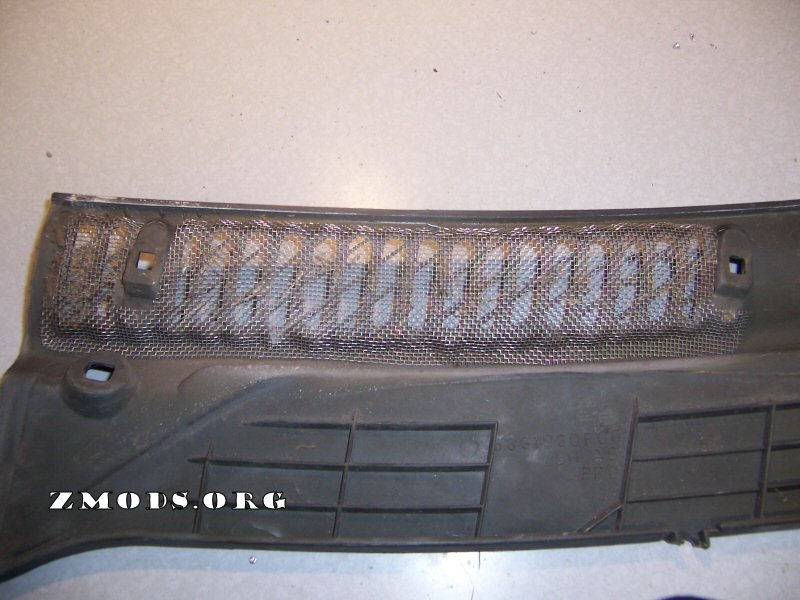
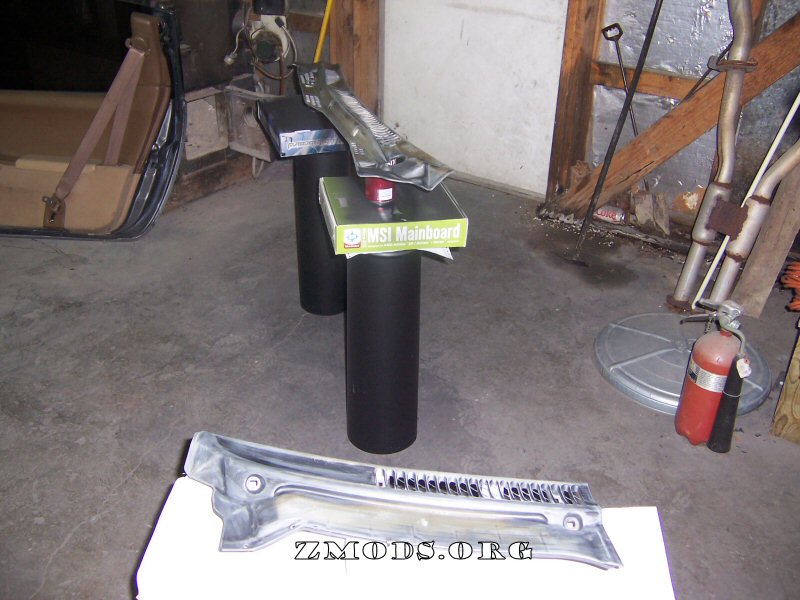
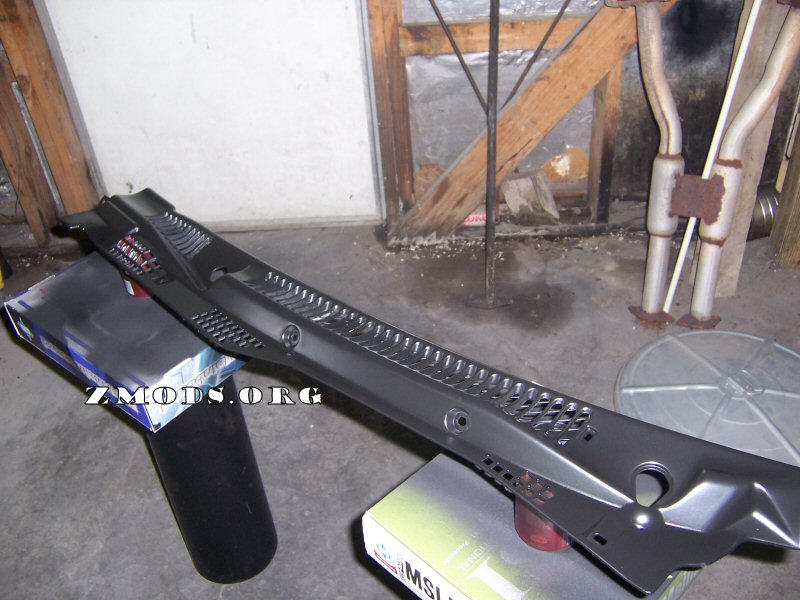
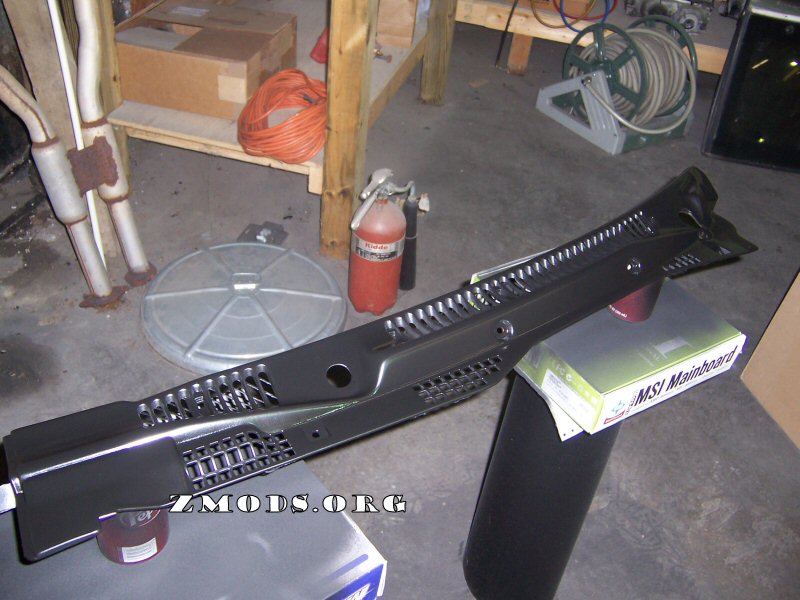
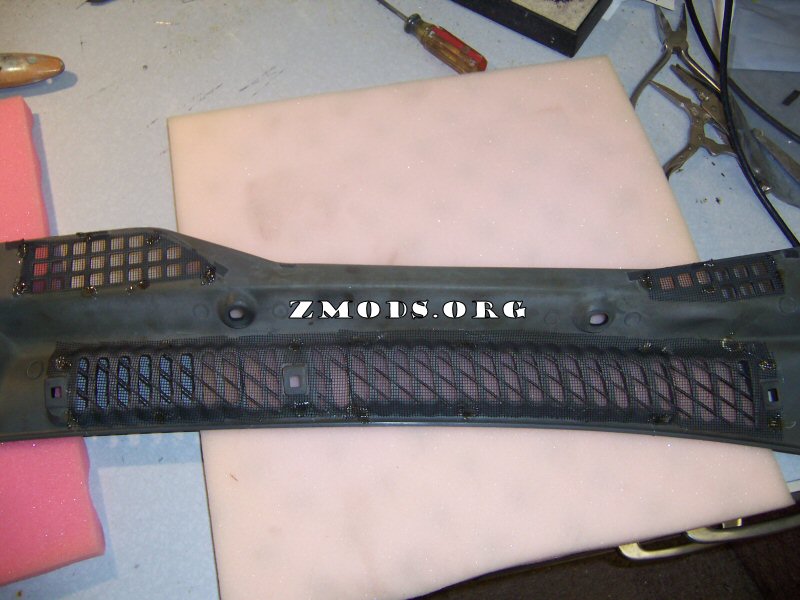
Here they are, removed from the car and ready to begin work on:
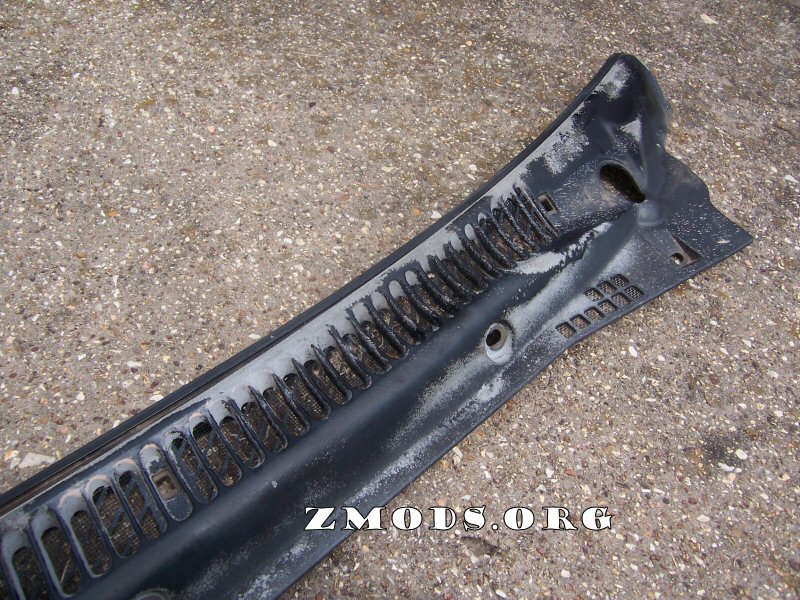
The first thing you want to do is to remove the rubber trim that goes between
the cowl and the windshield. It may have come loose when removing it from
the car, this is ok. Just set it aside for later.
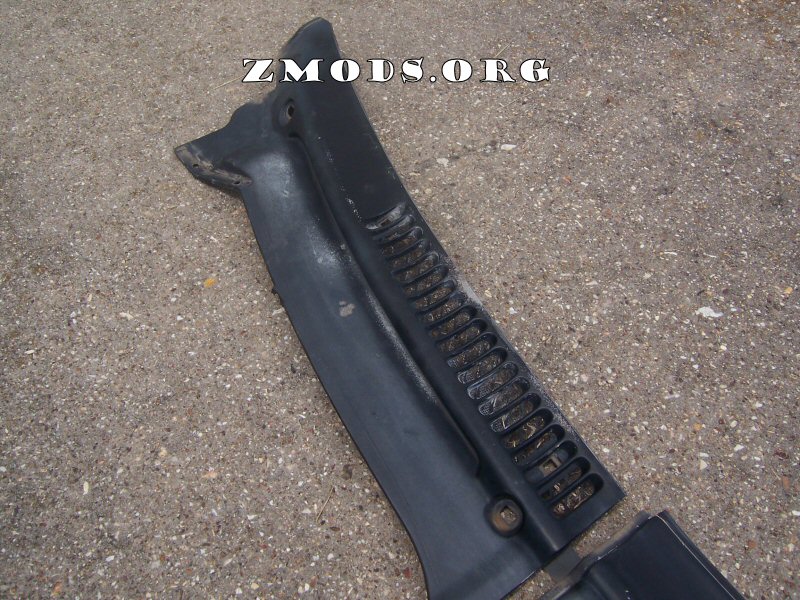
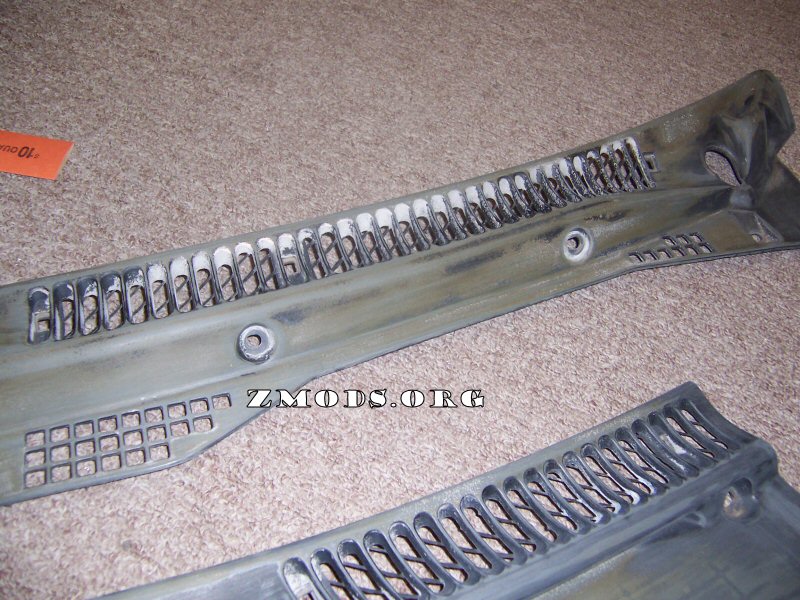
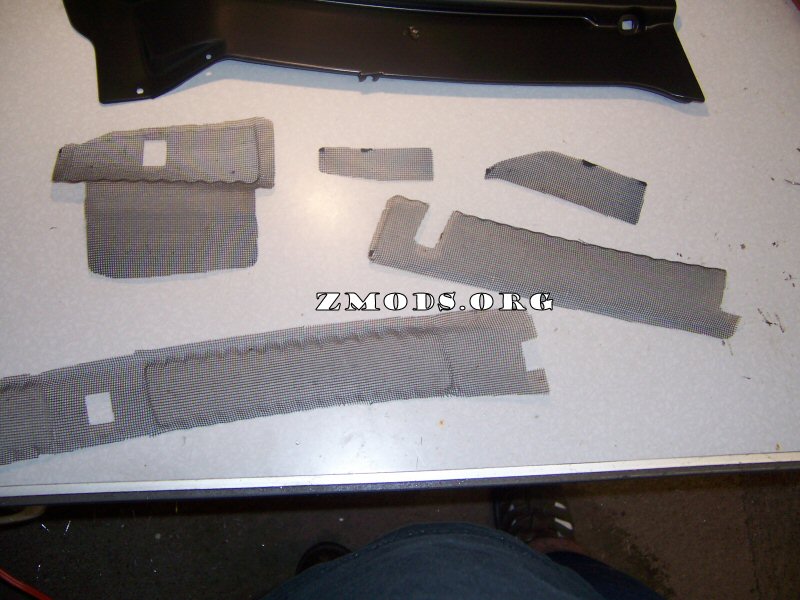
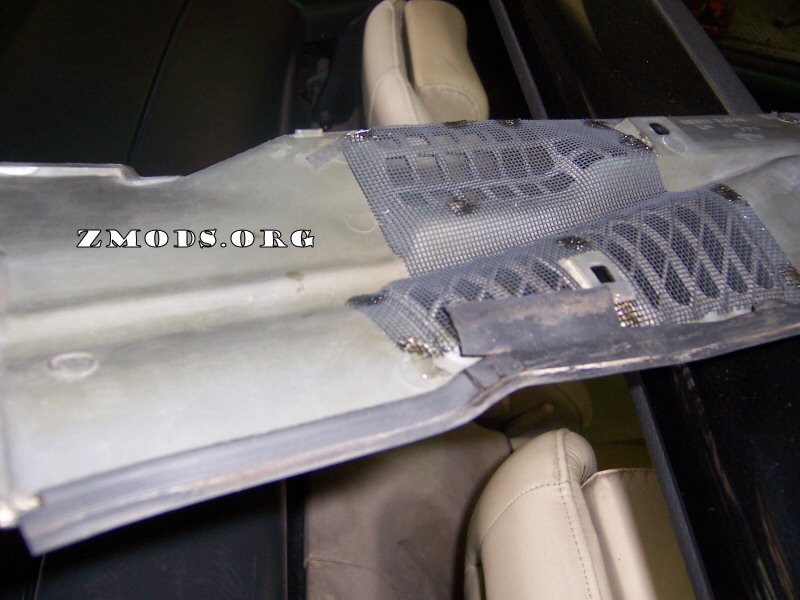
Removing
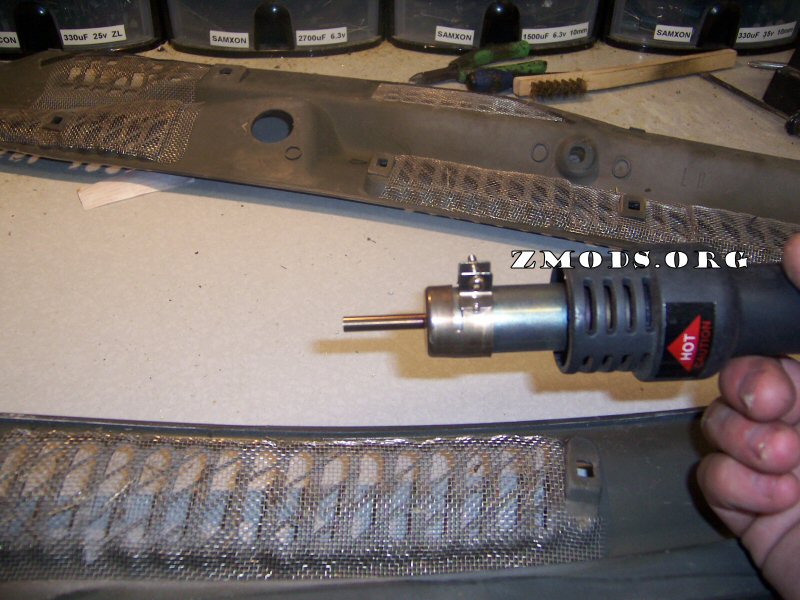
the Screens
This is the part that can be a little tricky. I used a
surface mount rework station to do this, which blows super heated air to melt
solder for surface mount electronics. I know that most anyone reading this
won't have access to such a device, so in its place, I recommend a soldering
iron. The screens are originally held in place from the factory by melting
the plastic and placing the screen onto the melted plastic, allowing it to
harden, and holding it in place.
1) You simply need to heat the spots where the screens are
held in place to release the screen from the cowl.
2) While the plastic is heated, lift the spot where the screen
is attached with your awl. They really come off quite easily. Heat
and lift the screen off each spot, and that's that! Be careful not to snag
or disfigure the screens, as that can make reassembly more difficult. If
the screens don't come right off, don't force or bend them!! Reheat them
and try again.
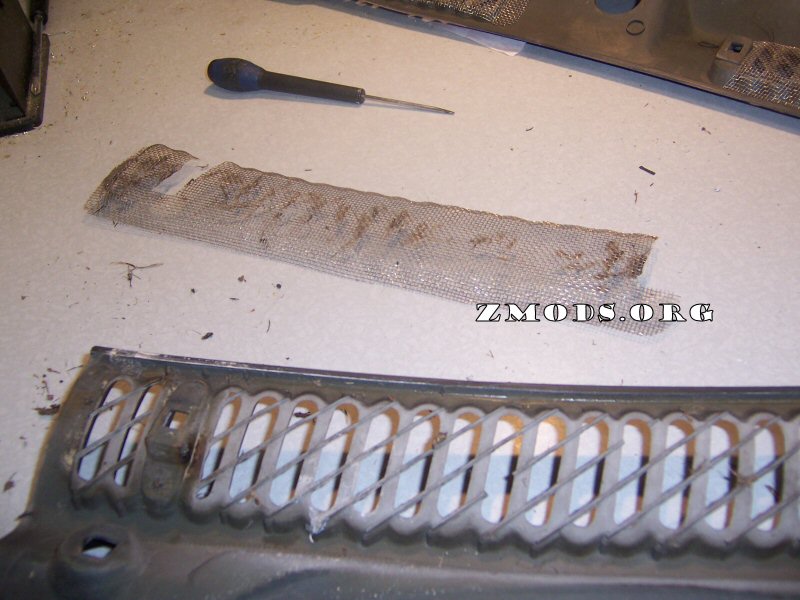

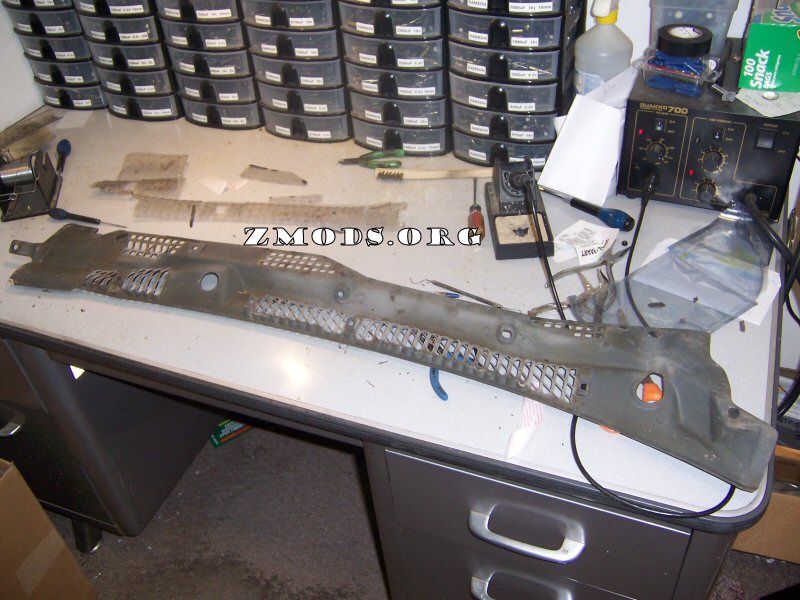
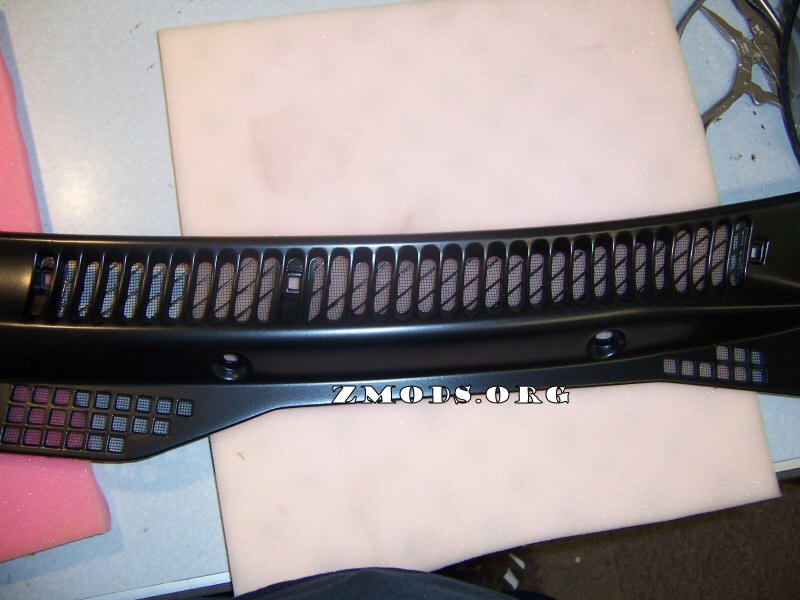
Sanding the Cowls
In this step, you want to sand as much of the loose material off
the cowl as you can, including down in the grooves. I started with 220
grit, to smooth as much of the pitting as I could, and then moved up to 1000
grit to smooth it out as best I could. Depending on the degree of
degradation on your cowl, you may not be able to completely sand out all the
pitting without sanding it too thin or disfiguring the shape of the surface too
much. This is ok. The Plasti Dip will fill in any light sanding
marks and minor pitting, that's the beauty of this stuff! Unlike paint
prep, the surface doesn't need to be absolutely perfect, it will hide a lot of
blemishes.
Coating
Preparation
Now that you've got it all sanded and smoothed, you want to
clean the surface of contaminants so the coating will stick. I used
acetone, but lacquer thinner will work as well. Dampen a clean rag with
the acetone and wipe down all surfaces that will be coated. Be VERY
careful not to drench the plastic with the solvent, as it will eat away and
disfigure it if you do. Be conservative with this stuff, but make sure it
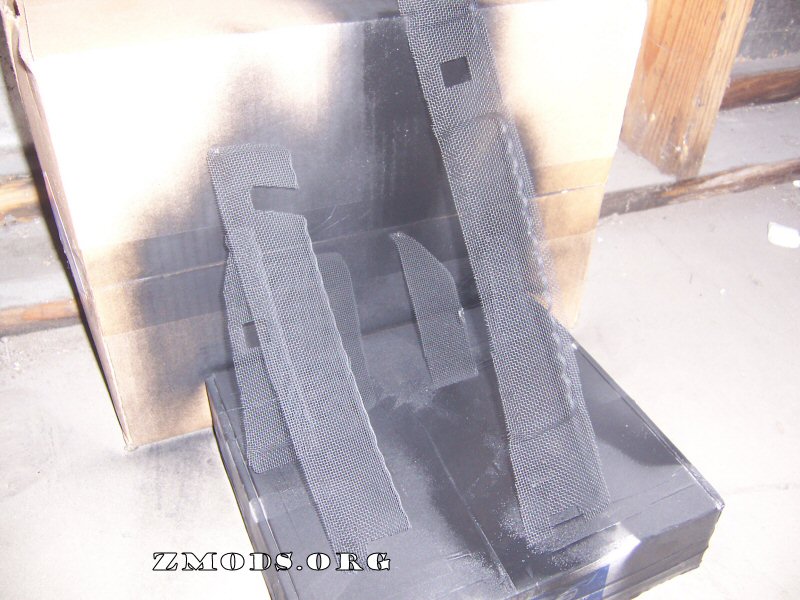
gets wiped down thoroughly! Once that is done, you want to lay
your cowls out to be sprayed. I stood them on boxes, and propped them up
with empty soda cans.
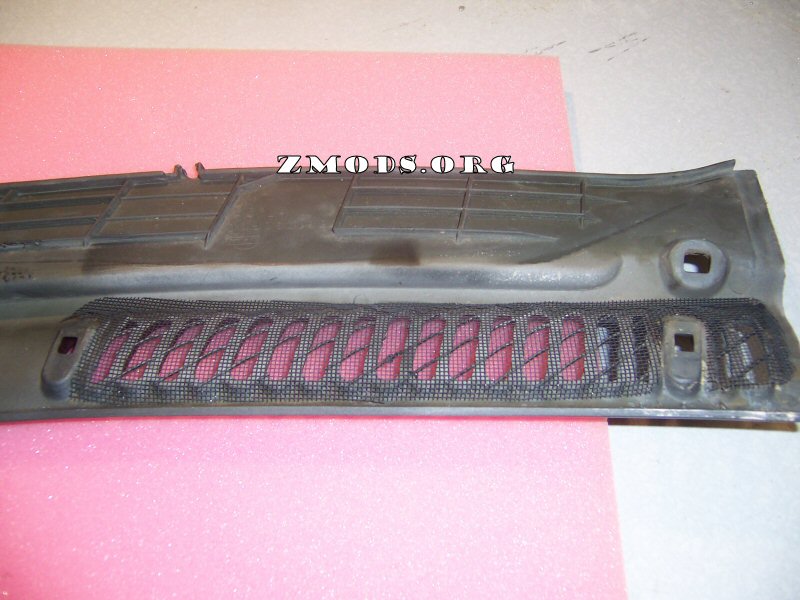
Applying the Plasti-Dip Coating
The time has come to apply the coating. You want to do
this in a similar fashion as you would if you were spray painting, applying the
coating in thin coats. Follow the instructions on the can for application.
Allow it to dry between coats. After the third coat, start making the
coats thicker as you go. I applied 6 coats, using 2 cans just on the
cowls. The cans don't last long, you'll go through them quicker than you
think. This stuff is thick, it's not like spray paint. This stuff
also stinks! I recommend wearing a respirator and doing this in a
ventilated area.
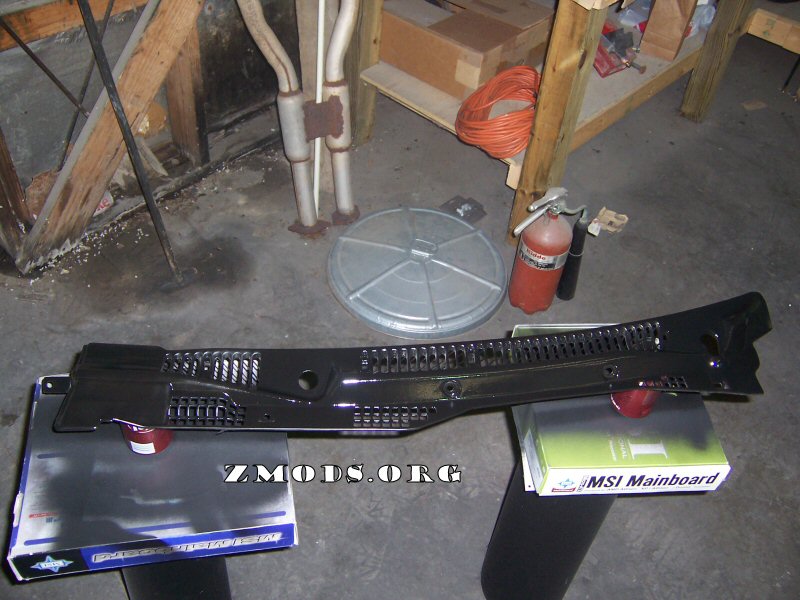
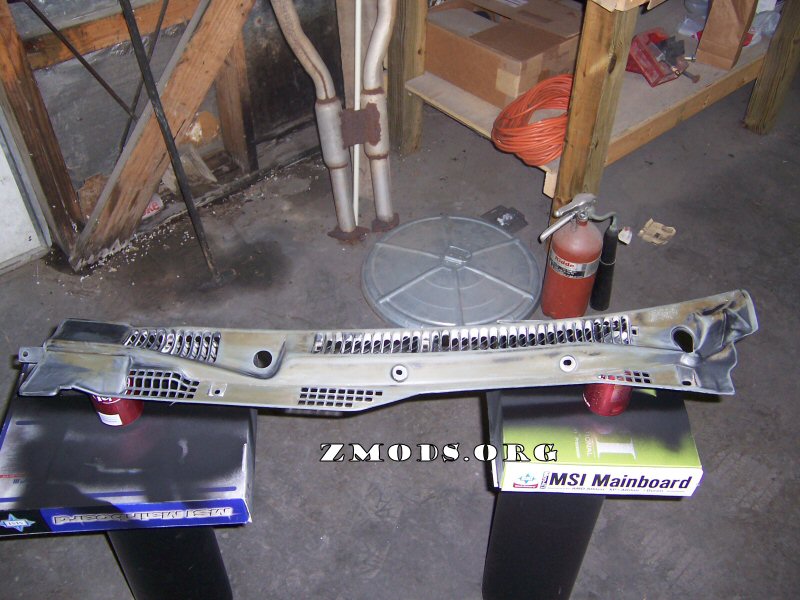
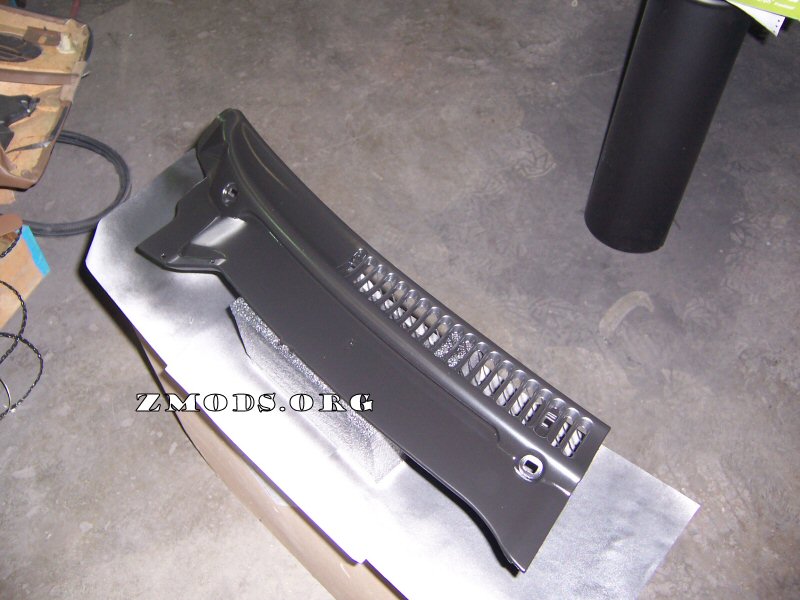
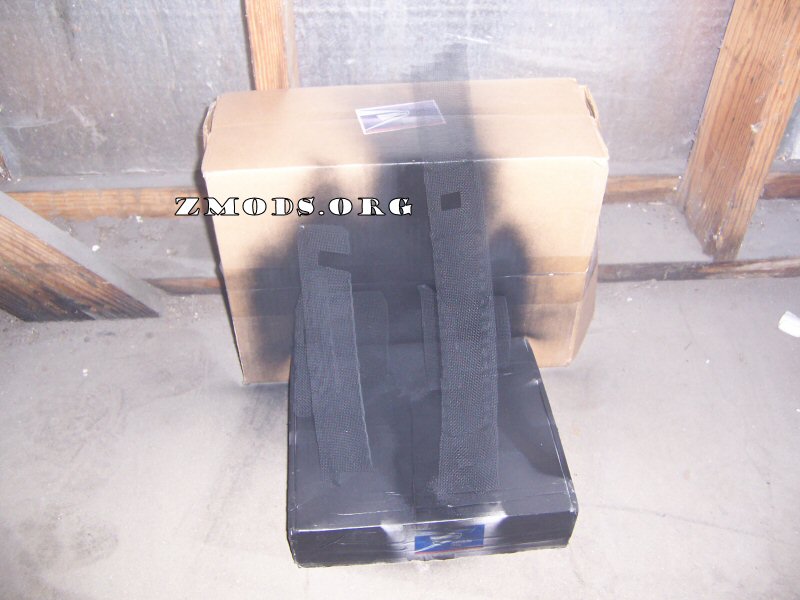
As the coating sets up, it will do strange things and look like
crap. Before you panic and think you made a mistake in your prep, let it
completely set up, which will take several hours. After coating it, I'd
just let it set overnight. When you look at it in the morning, it will
have smoothed out and set to a satin finish. You shouldn't need to apply
anymore coats unless you see a thin spot or other blemishes, which you shouldn't
if you took your time and coated it properly. The pics below are 6 coats,
cured overnight:
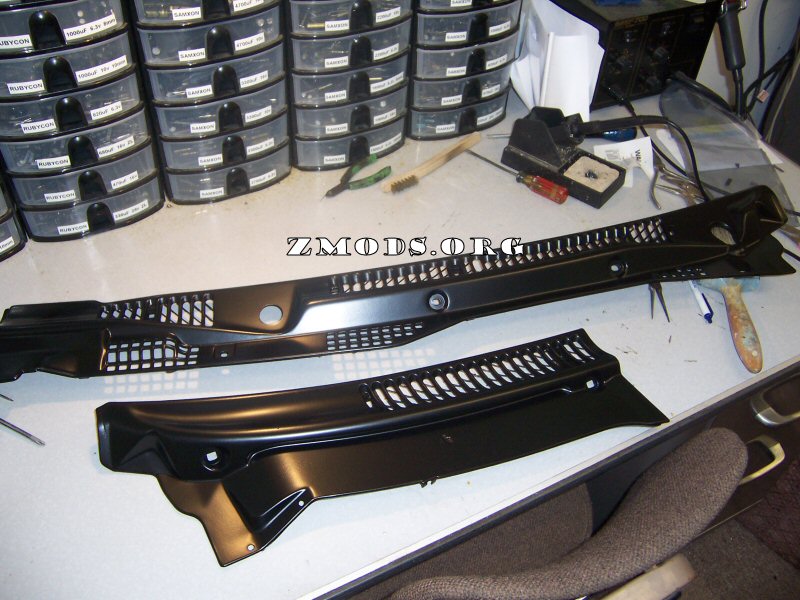
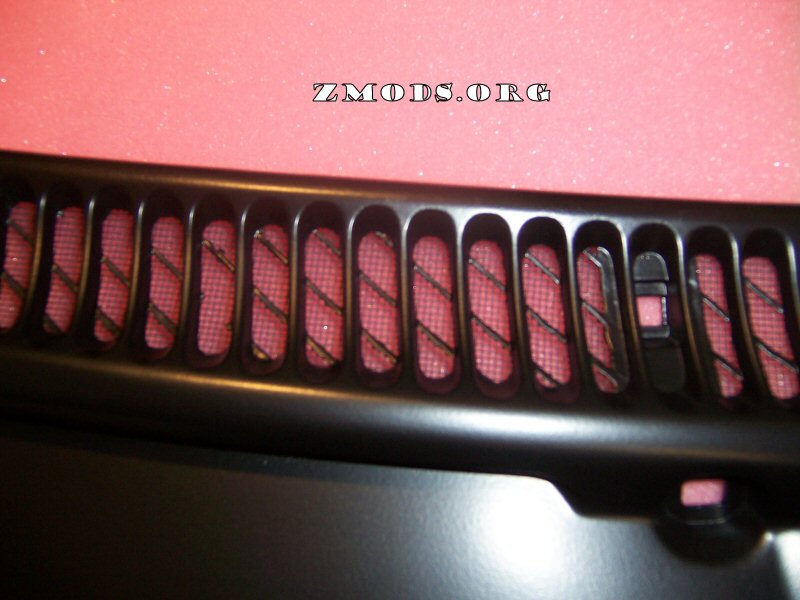
Preparing the
Screens for Paint
This step is optional, as you don't have to paint your screens.
I chose to do so, as it makes the whole thing come out a lot cleaner looking.
I washed the screens with hot water and simple green. Make
sure all debris, bug guts, leaves, and other crap is out of them!!! Dry
them thoroughly, I blasted them with an air compressor.
To prepare them for paint, wash them good with acetone or
lacquer thinner, and let them air dry, it won't take long, as it will evaporate
quickly. Then set them into position to paint.
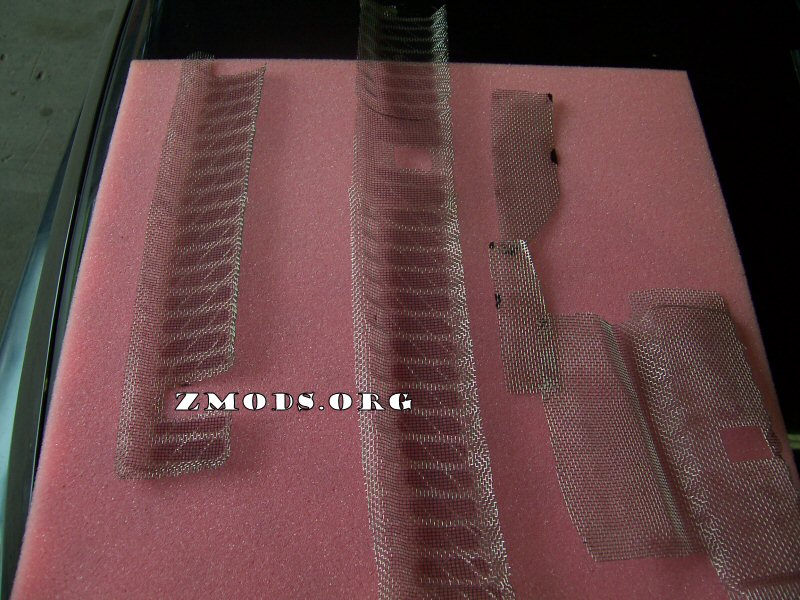
Painting the
Screens
This step is also an easy one. I used some high temp flat
black I had left over from some calipers I painted. Give each side 3 thin
to medium coats of paint and allow them to dry. Don't overdo it with the
paint! If you coat them too thick, it will clog up the screens, and look
like crap.
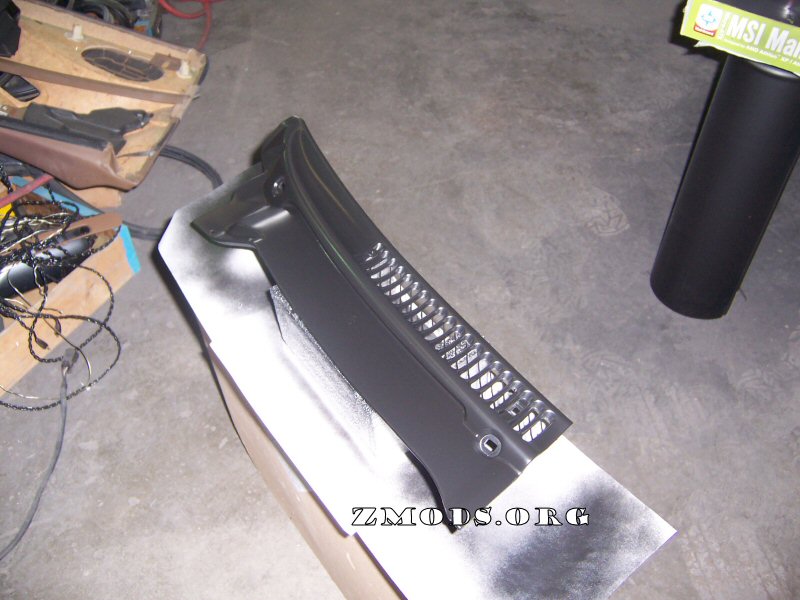
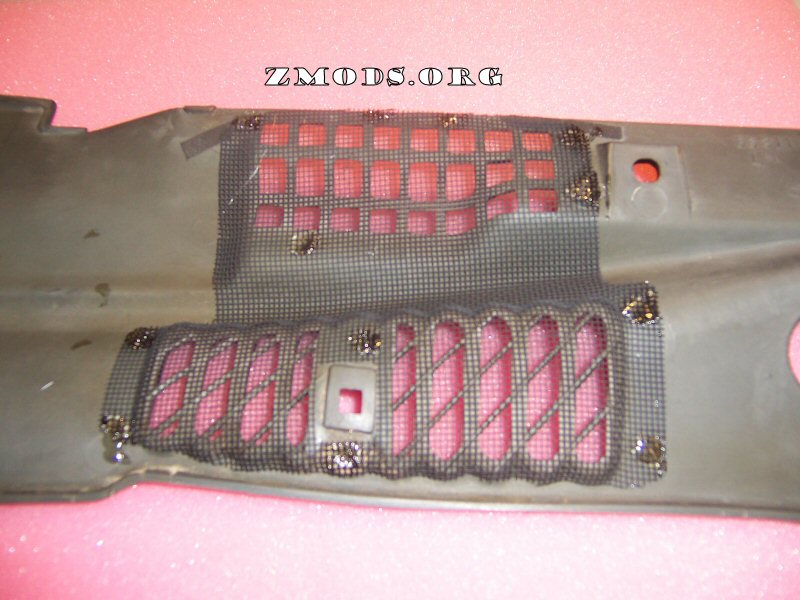
Replacing
the Screens
You now want to round up everything and put it on a clean bench.
You'll need both parts of the cowl and all your screens, as the time has come to
reattach the screens to the cowls. You will also need your hot glue gun.
Plug it in and let it heat up while you round up all of your parts.
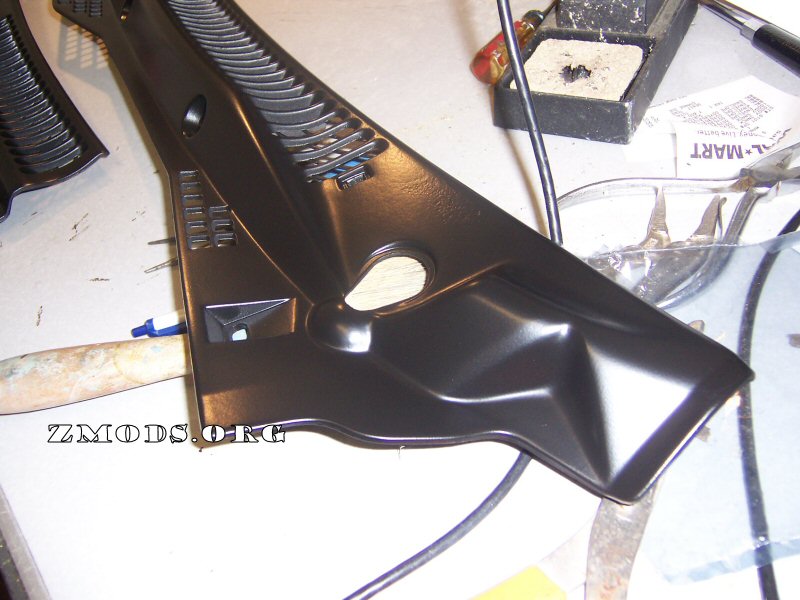

Flip the cowls upside down, setting them on a soft surface to
avoid scarring up the fresh plasti-dip coating. You'll want to test fit
the screens in their places and make sure they fit right, and that no
adjustments need to be made.
Once that's done, take the hot glue gun and dab each spot where
they were originally attached with some glue. DO NOT DO THEM ALL AT ONCE!!
Do each spot one at a time, applying the glue and then holding the screen in
place until the glue sets, which takes about 30 seconds. Then move on to the next dab, doing the same
thing. This stops the screen from lifting up or shifting around, insuring
that they reattach flush.


Replacing the Rubber Trim
Remember that rubber trim that was between the windshield and
the cowl that you removed early in the writeup?? Well it's time to replace
that piece now. There's not much to this, The groove on the rubber trim fits into the
lip on
the edge of the cowl. There's no need to glue it in place, just snap it
back into the groove. If it's loose, that's ok, it will be pinned between
the windshield and the cowl when you reinstall it anyway, so it won't go
anywhere. Just make sure it stays in place when reinstalling it on the
car. If you really want to glue it, you can, but there's no need to.
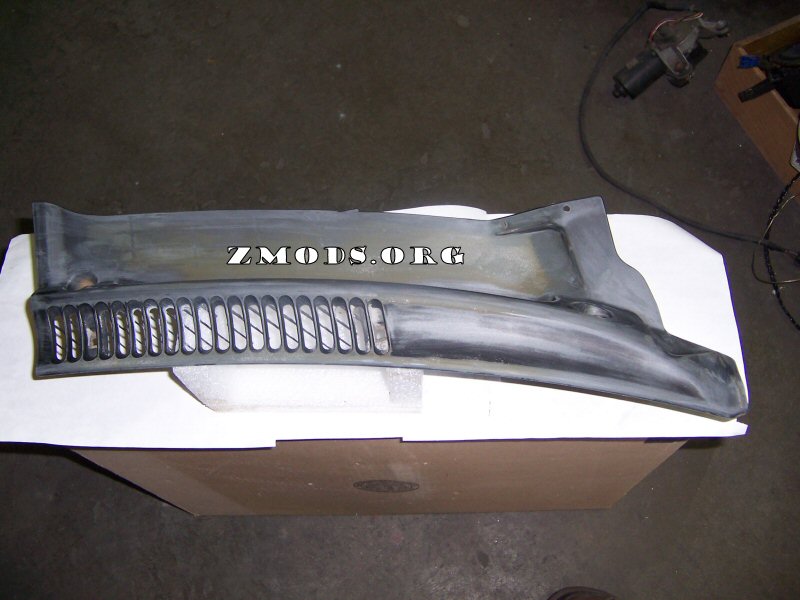
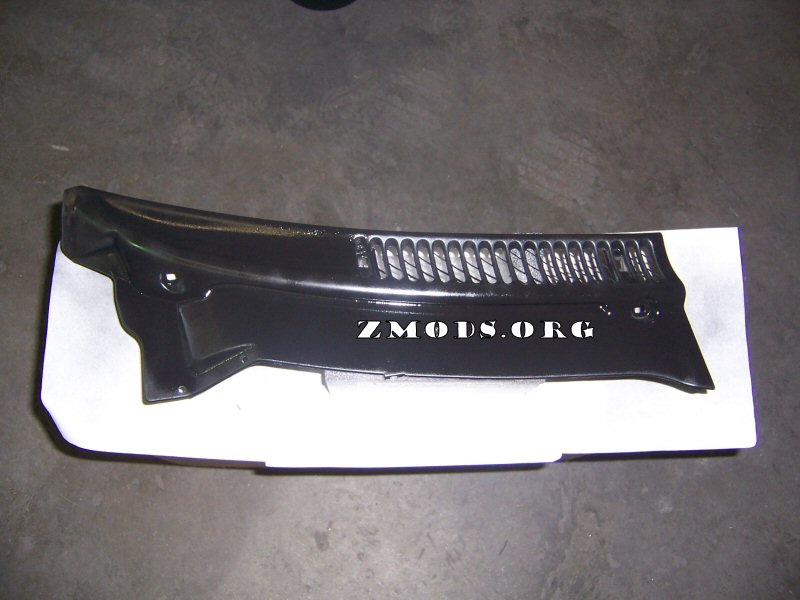
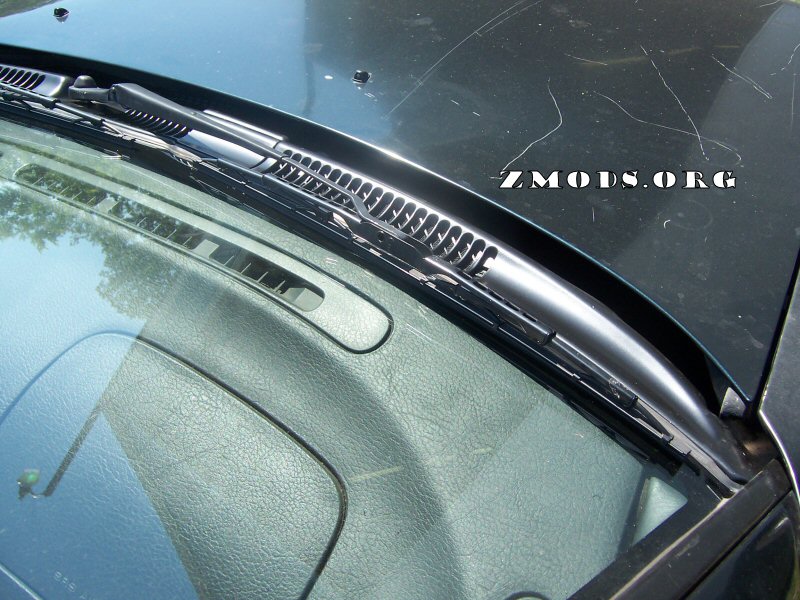
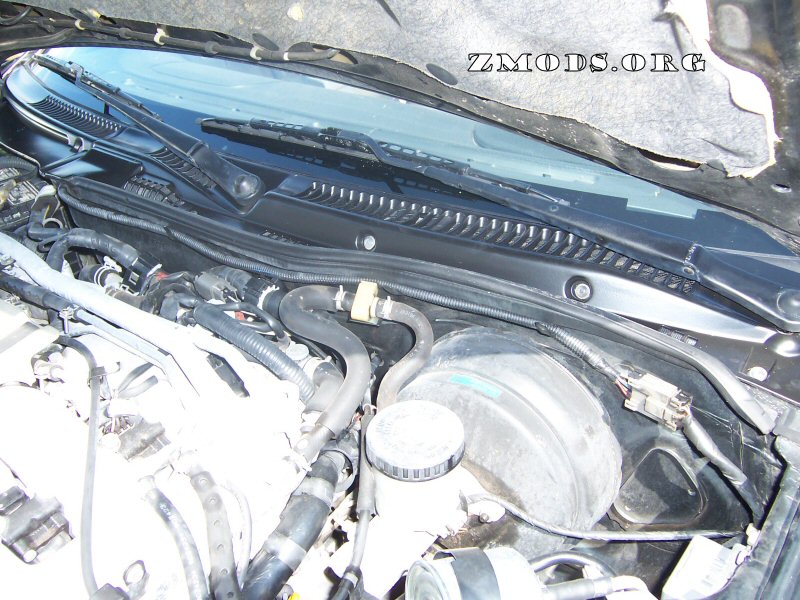
The Finished
Product
This is what it will look like after reinstalling it.
Please excuse these pictures, the car is dirty, the wiper arms are pitted, and I
didn't clean the dusty hand & finger prints from the cowls after the reinstall.
They really did come out amazingly though!!

I do hope you found this article useful!! I wanted to
extend my thanks to Greavous from 300zxclub.com for turning me on to Plasti-Dip,
this stuff is an absolute miracle in a can!!!
Back to Top
Zmods.org screen name: Twisted Six
3ZC screen name: Twisted Six
AIM screen name: TT2by2
|