|
Gutting Catalytic Converters |
Article Date: 10-12-06
Author:
Twisted
Six
Mod Class: Z32 NA or TT
Mod Type: Performance
Article Origin:
Zmods.org
Difficulty Level: 4 (Scale of 1 to 10. 1 being extremely easy, 10 being extremely
difficult.)
Estimated Time to Complete: Less than an hour
Tools Required:
Workbench with a vise
Long shank screwdriver (12" or longer recommended)
Hammer (5lb short-handle sledge works great!)
Dust mask |
NOTICE:
If your area requires smog testing, do NOT do this to your car!
Remove the catpipes from the midpipes and headers/downpipes.
I dropped the entire exhaust system, since I was replacing the catback with an
aftermarket anyway. You don't need to remove the entire exhaust to do this
though, just the catpipes.
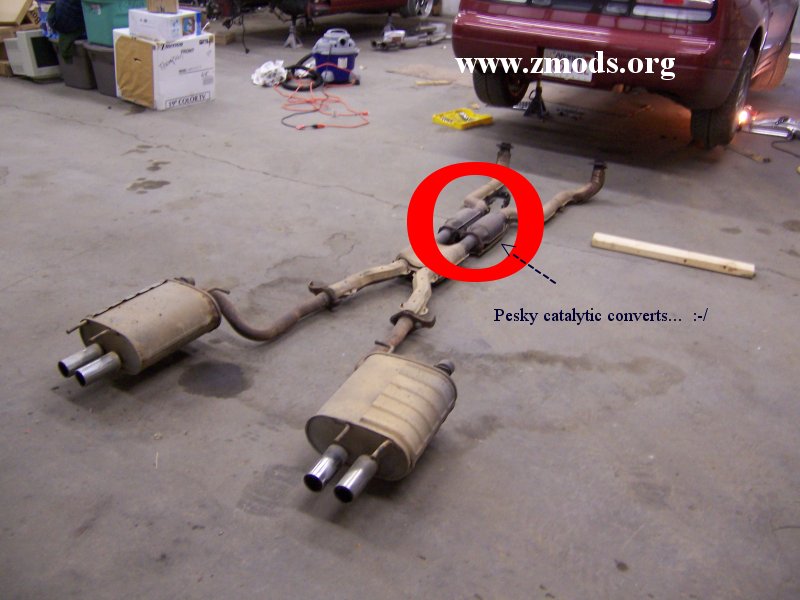
Step 1 - Preparation
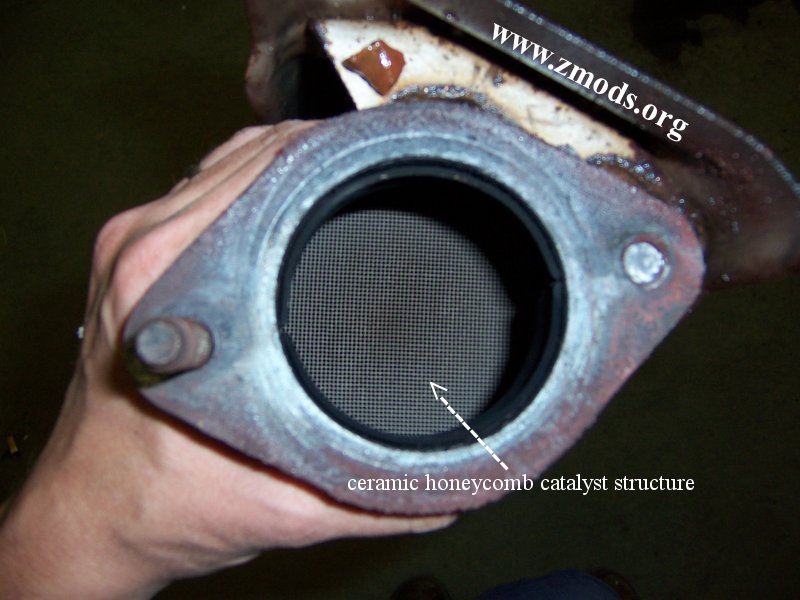
Once you have the catpipe free from the midpipe, mount it in the
vise securely. Make sure you give yourself plenty of room to work
Looking into the cat, you'll see a honeycomb-looking mesh. That's the
stuff you'll be knocking out of there. It consists of ceramic, coated in
hell knows what else... I strongly recommend wearing a dust mask while
doing this. The process creates a lot of dust, and something tells me it's
not too healthy to breathe it.
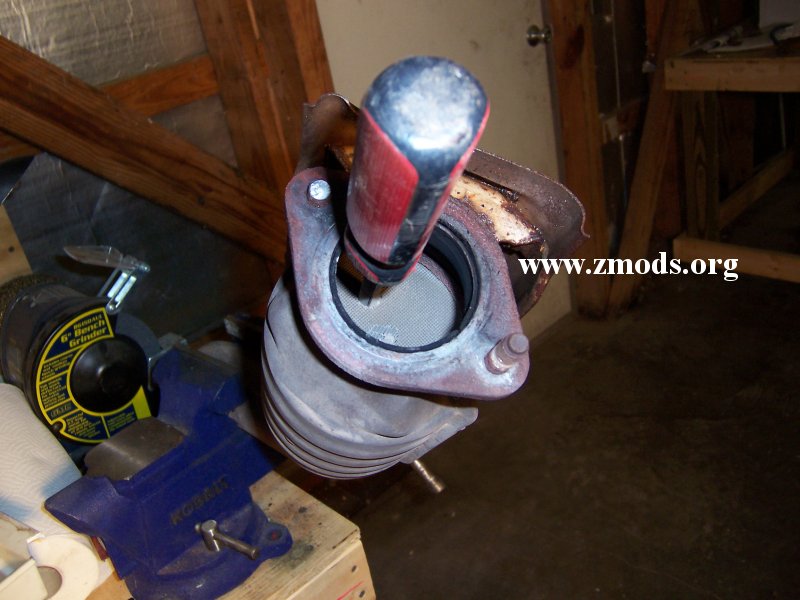
STEP 2 : Breaking the catalyst material apart
This is really easy to do.... The ceramic material is very brittle, and
will crumble rather easy. Place the long screwdriver into the cat, close
to center, then strike the handle until you drive it into the material several
inches.
Twist and wiggle the handle until it breaks loose, and then pull it out.
Move the tip an inch or two away from the first hole you made, and drive it in
with the hammer again.
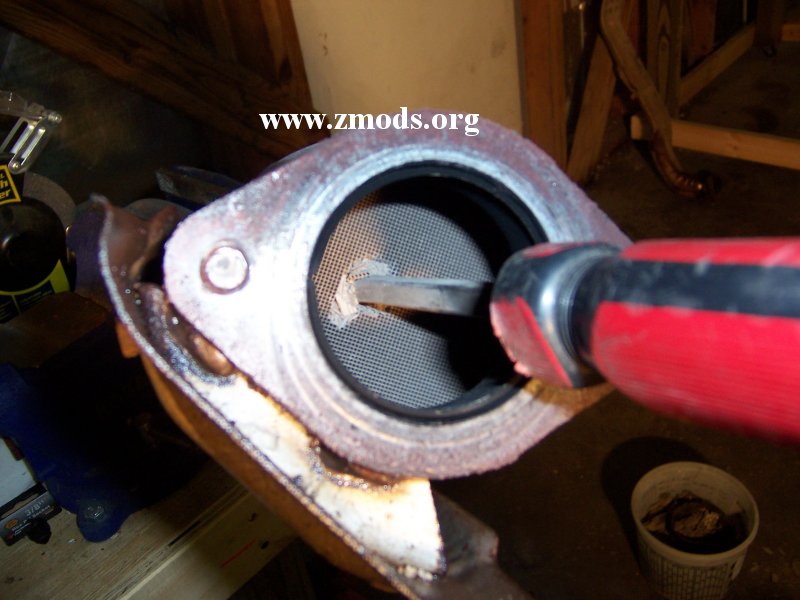
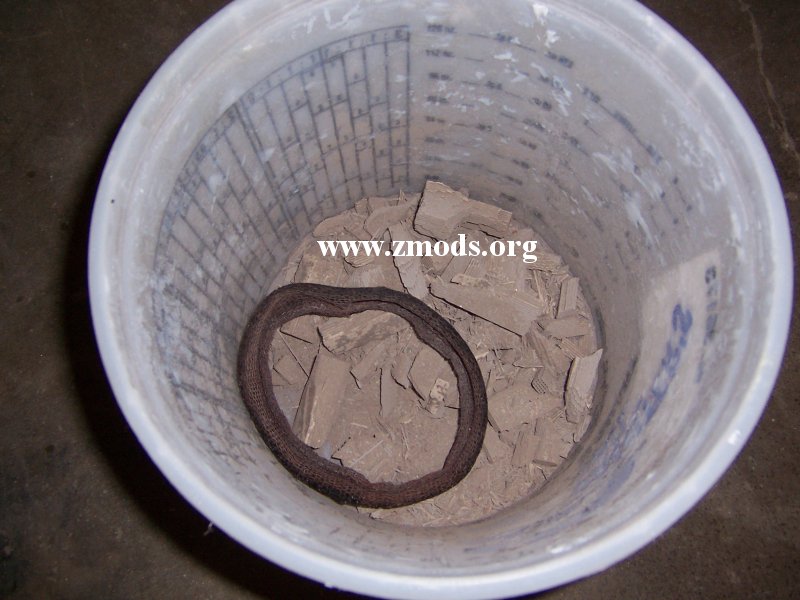
Keep doing that until you've got a big mess of loose ceramic
material....
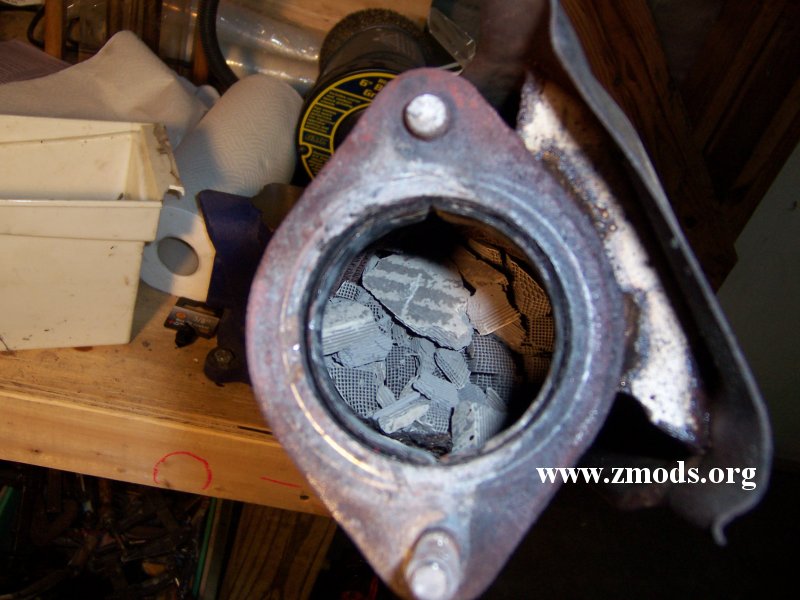
Periodically remove the cat from the vise and dump the loose
material into a bucket or trash can.
STEP 2 : Removing the 'Brillo Pad'
Once you get through an inch or so of the ceramic, you will
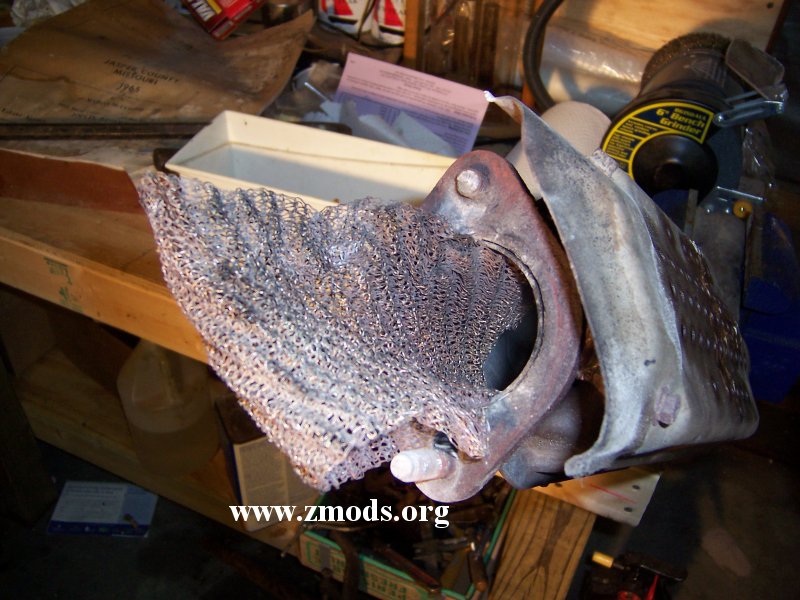
run into some wire mesh. It looks like a Brillo Pad to me, so we'll just
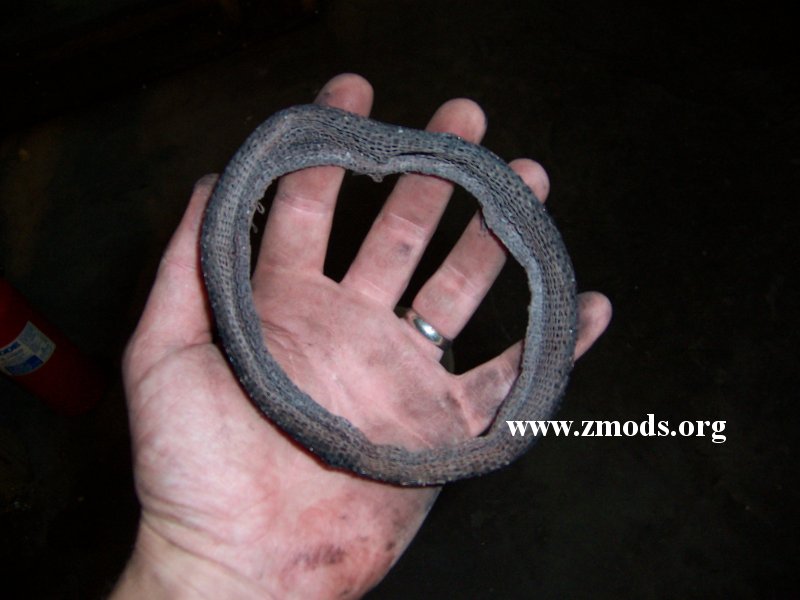
call it that... This material is in place to prevent the ceramic material
from rattling and coming into direct contact with the cat housing. There
are 2 doughnut rings (one at each end of the ceramic mesh), and one large one in
the middle.
When you chisel your way down to these, simply snag them with
the screw driver, or use some long needle nose pliers and pull them out.
Make sure you remove all three of them. If you don't, they can blow back
into your resonators or mufflers and clog them up.
The doughnut mesh:
The larger mesh which wraps around the ceramic:
Making progress!!
Step 3 - Finishing
When you get through all the ceramic, you'll come across the
third and final 'Brillo Pad'. Remove that and all remaining ceramic
chunks. Take an air compressor and blow any remaining dust out of the
pipe. You'll have a nice bucket full of crusty crap that came out of the
cat.
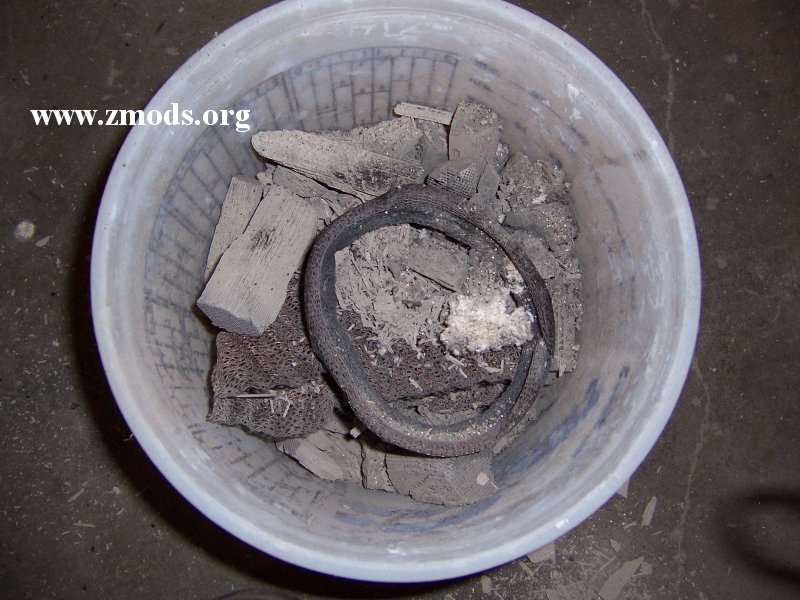
I recommend disposing of this stuff in a small plastic bag (a
Walmart sack works great) and then just putting it in the garbage. If you
leave this stuff loose (especially where moving air can get to it), it will make
a dusty mess all over your garage!
When you're all done, you should look into your cat and see
this:
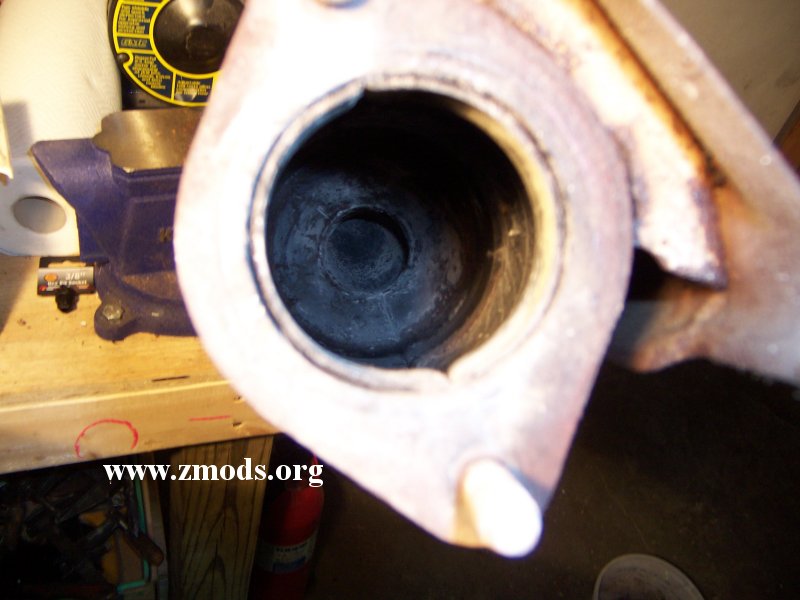
That's it!! Repeat the process to the other cat, and
shazam! You'll have gutted cats!
Zmods.org screen name: Twisted Six
3ZC screen name: Twisted Six
AIM screen name: TT2by2
|


