|
Brake Rotor Replacement |
Article Date: 10-21-06
Author: Turtleboy
Mod Class: Z32 NA or TT
Mod Type: Maintenance
Article Origin:
www.300zxclub.com &
www.skylinedesigns.net
Difficulty Level: 3 (Scale of 1 to 10. 1 being extremely easy, 10 being extremely
difficult.)
Estimated Time to Complete: 1~2 Hours
Tools Required:
Torque Wrench
Socket Wrench
21mm deep socket
21mm or 19mm socket (some Z's have different size caliper bolts)
21mm or 19mm wrench
Small vice |
Taken from my site:
Rotor
Replacement
Note: It would be a good idea to replace your old brake pads
as well before you drive on your new rotors.
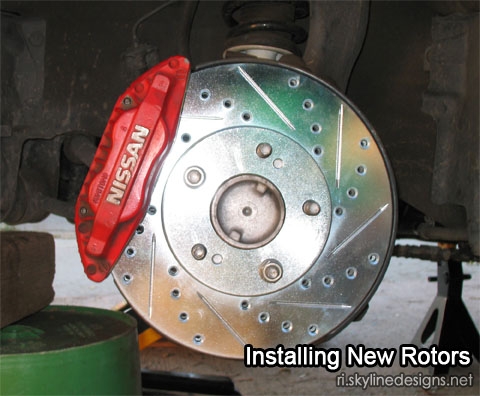
1. With the car on the ground, loosen the lug nuts on the
wheels that you are going to start with (10 x 21mm). Jack up the front or rear
(which ever you are starting with) of your car, making sure to observe all
safety precautions. Put your car on jack stands on a level surface, don't get
underneath your car if it's just supported by a jack! For the proper jacking and
stand points, refer to the FSM.
2. Remove the lug nuts from whichever wheel you are starting
on and take that wheel off the car.
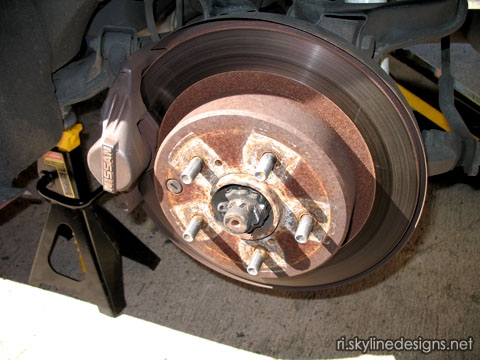
3. There are two 21 or 19mm bolts on the back side of the calipers that hold the
caliper to the rest of the suspension. The top bolt is easily accessible with a
socket wrench, the for the bottom you may need to use a conventional wrench.
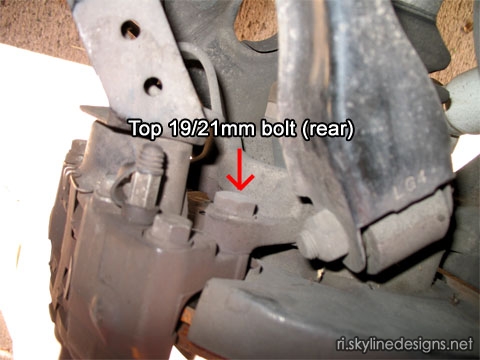
4. Once the bolts are removed you can work the caliper off the rotor. My rotors
had developed a bit of a lip on them and the pads hitting that lip was
preventing the caliper from coming off. If this is the case with your rotors,
use a small vice to compress the pistons slowly so that the pad can clear the
lip. After that the caliper should come off fairly easily.
5. Be careful not to crease or bend the brake lines. It's a good idea to have
something supporting the caliper, so it's not just hanging from the brake line.
6. Once the caliper is off the rotors should come off without too much effort.
Althogh, the rears will require a little extra work, since the emergency brake
actually uses the inside of the rear rotor hats. When removing the rears, make
sure the emergency brake is off and tap the rotor with a mallet to break it
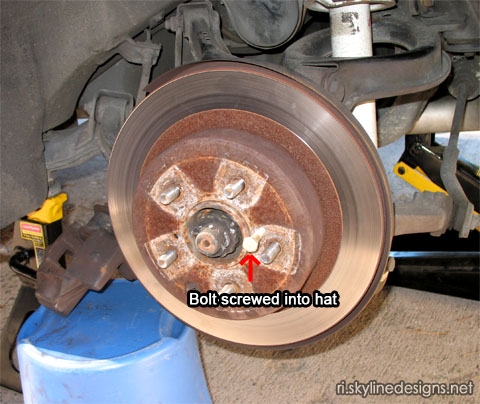
loose. If that does not work, the rotors have two threaded holes which you can
screw a bolt into which will force the rotor off the axel. Once it is broken
off, the rotor should come off easily.
7. Now that the old rotor is off, put the new one on and reverse the process.
You may have to use a vice to compress the pistons a bit if your old rotors were
worn down a good amount. If the cooling veins are directional, make sure the
rotor is facing the correct way, do not worry about which way the slots or drill
holes are going, the cooling veins are the important part. If the veins aren't
directional, then install the rotors so that the slots/drill holes hit the top
of the brake pad first when moving forward.
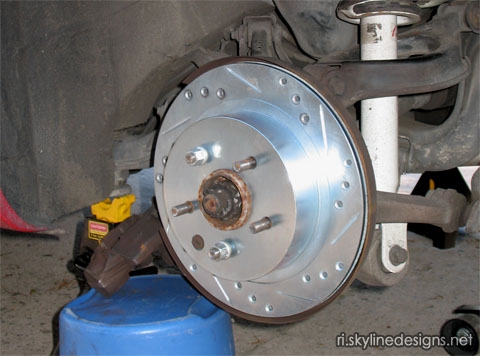
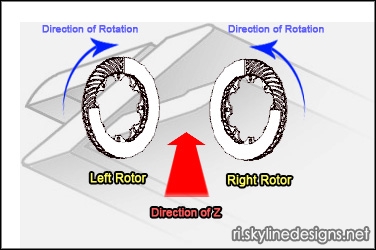
8. The caliper bolts need to be torqued on to 100ft/lbs. Put the wheels and lug
nuts back on and lower the car. Torque the lug nuts to 75-80ft/lbs.
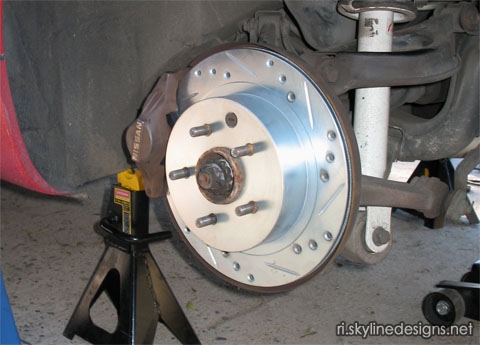
9. Be sure to follow the correct bedding and break in process before driving
agressively on your new rotors.
Zmods screen name: Turtleboy
3ZC screen name: Turtleboy
AIM screen name: to0manydrinks
|


